
Hi there!
The other day (July the 9th) we recreated The Night of the Owls along some thematic scenarios. The final scenario was the Assault on the Batcave, so we decided to build it!

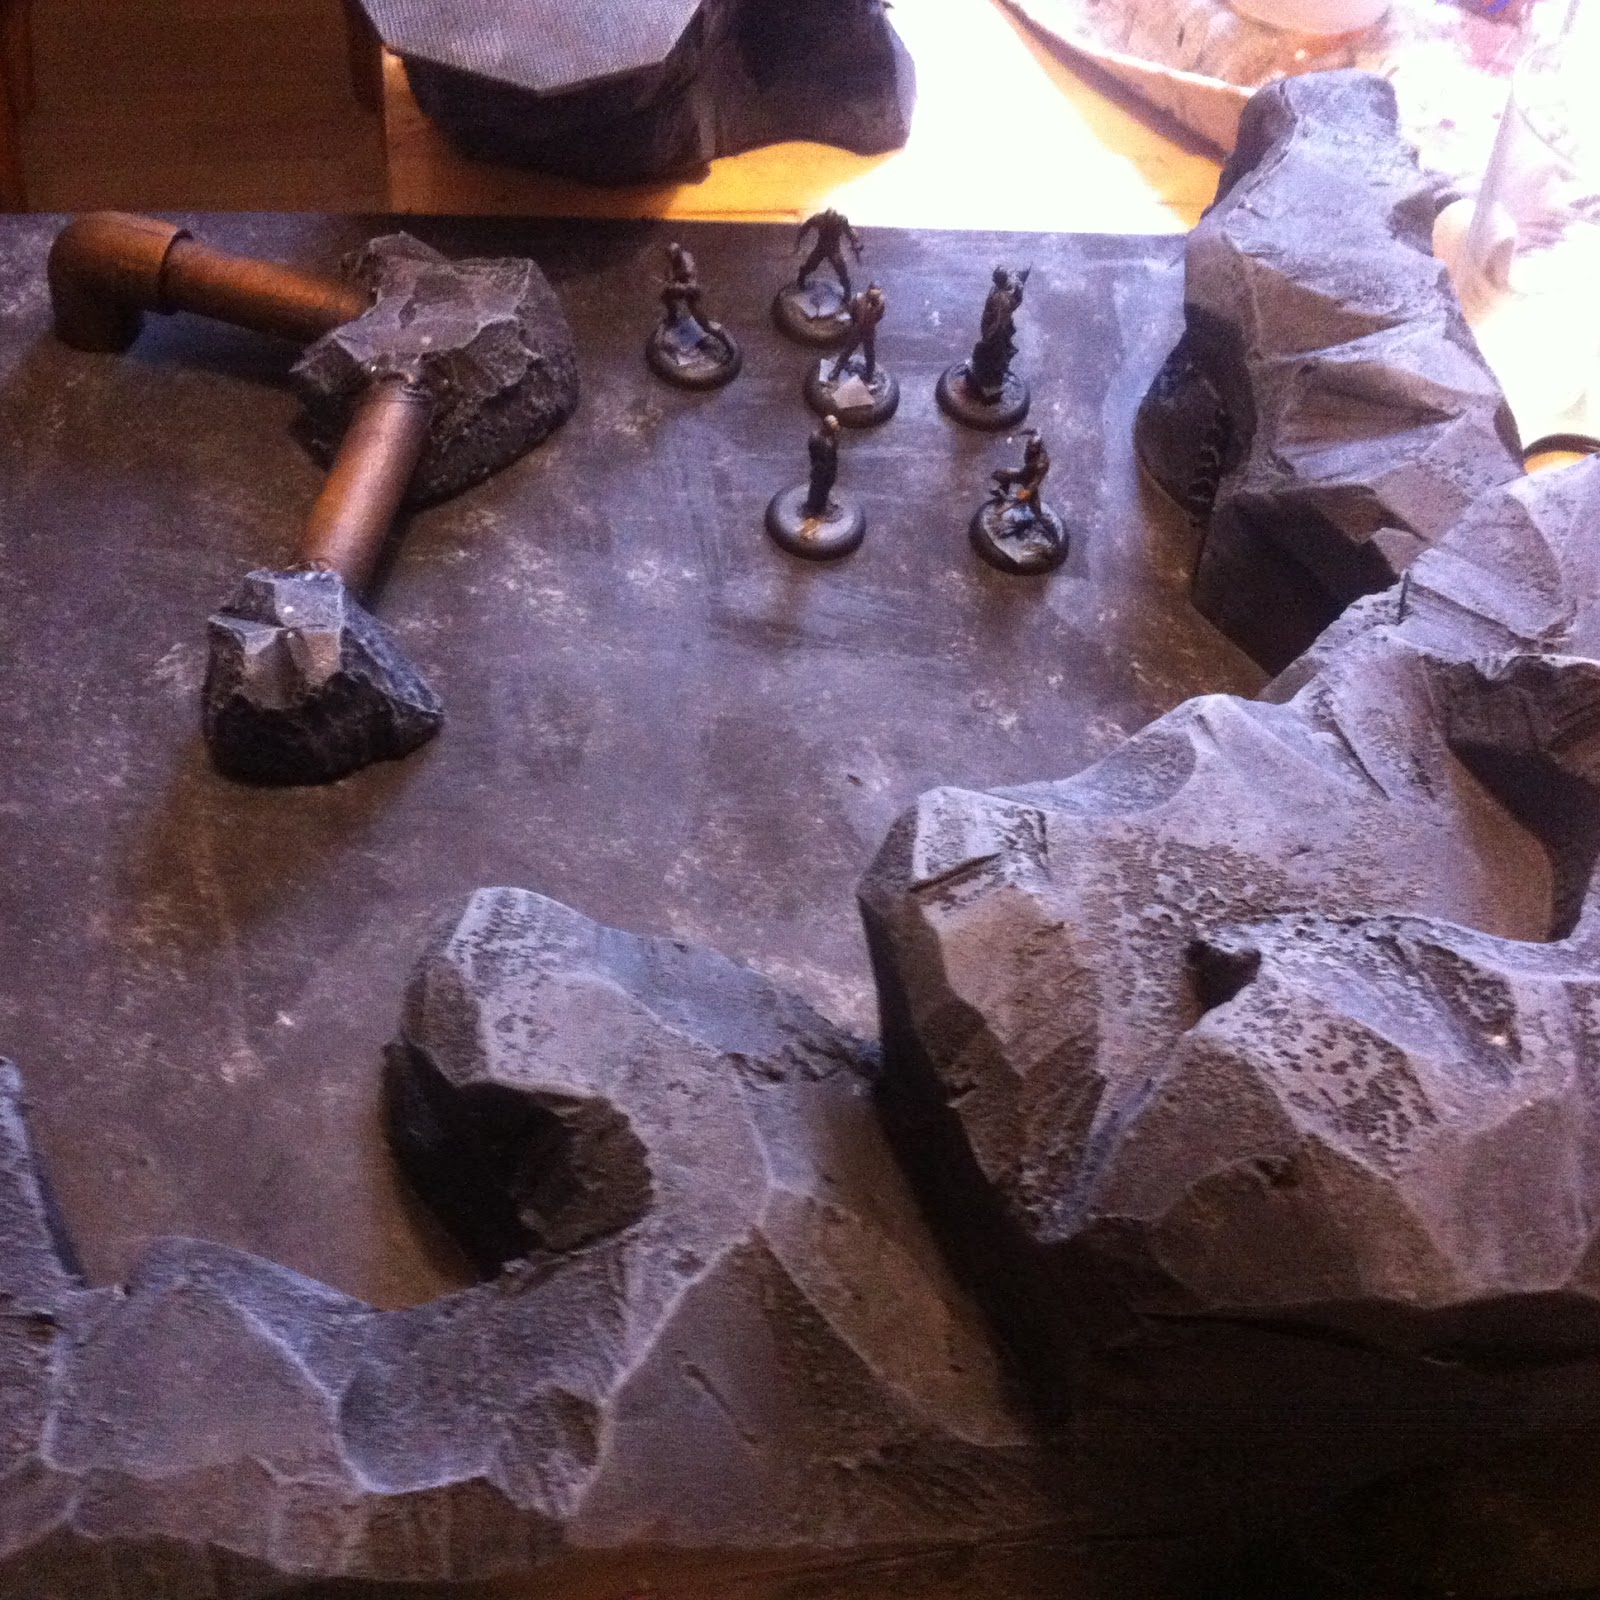
As you can see, it is not an incredible Batcave. There are no computers and the painting and the details could be better. The good thing is that we build it in three afternoons!
MATERIALS
- 4'5 cm. hard foam.
- Four wooden boards (45x45 cm.).
- Hard paperboard.
- Plastic roll to cover the selves of the fridge.
- Plastic pipes.
- DM stairs from TTcombat - Old Scenics.
- Glue, hot-melt gun, cutter...
- Black spray.
- Airbrush (optional).
GENERAL IDEA
We decided to build a modular board for both, the external and internal elements. Apart from that, our idea was to use the board for other games such as catacombs or caves (Mordheim, Frostgrave...).
In one of the corners of the board we would build the entrance for the Batmobile. The opposite corner would be for the access to Wayne Manor.
Finally, we tought it was a good idea to connect all the elements with 'metal' footbridges.
CONSTRUCTION
1. Cut the foam shaping it as rock and paste it on the board. Afer that, copy the same shape to have more levels.

2. Polish sharp parts and continue cutting shaping the foam.

3. Make the elements adding platforms and stairs. We cut the paperboard making octagon shapes and covering with the plastic roll.

4. Continue with small elements using the pipes to connect rocks.

PAINTING
1. First, cover the whole board (elements included) with glue. By doing so, it will be easier to paint on it.
2. Secondly, use the black spray to paint everything.

3. Use the airbrush to cover all the foam again.
4. Drybrush mixing Light blue and Grey for the rocks.

5. Colour the platforms using drybrush technique and metallic paint. Then, use a black layer covering the platforms again. It seems to be boring, but you'll see that it is really fast.
6. For the pipes, I usually paint them using a dark Brown colour and bronze/gold metallic using (again) drybrush technique.

7. For the last step, using a thick brush, paint with almost-white colour the floor of the Batcave trying not to define it. Once this is done, use some layers (black and brown) for the whole floor.

As you can see, the result is a playable board. The artistic aspect could be much better, I know it...


I expect you enjoyed this post and don't hesitate to write down all your comments, ideas or pictures of your own Batcave boards.
No hay comentarios:
Publicar un comentario